
Steps to install free SSL certificates using Lets Encrypt on Google Cloud based Wordpress installation.
All the paths below are based on assumption that you’ve used one-click-install Google Launcher version of Wordpress. Also, in the steps below replace ‘balajiextrusions’ with your own site name
Installation
Login to your Compute instance using SSH
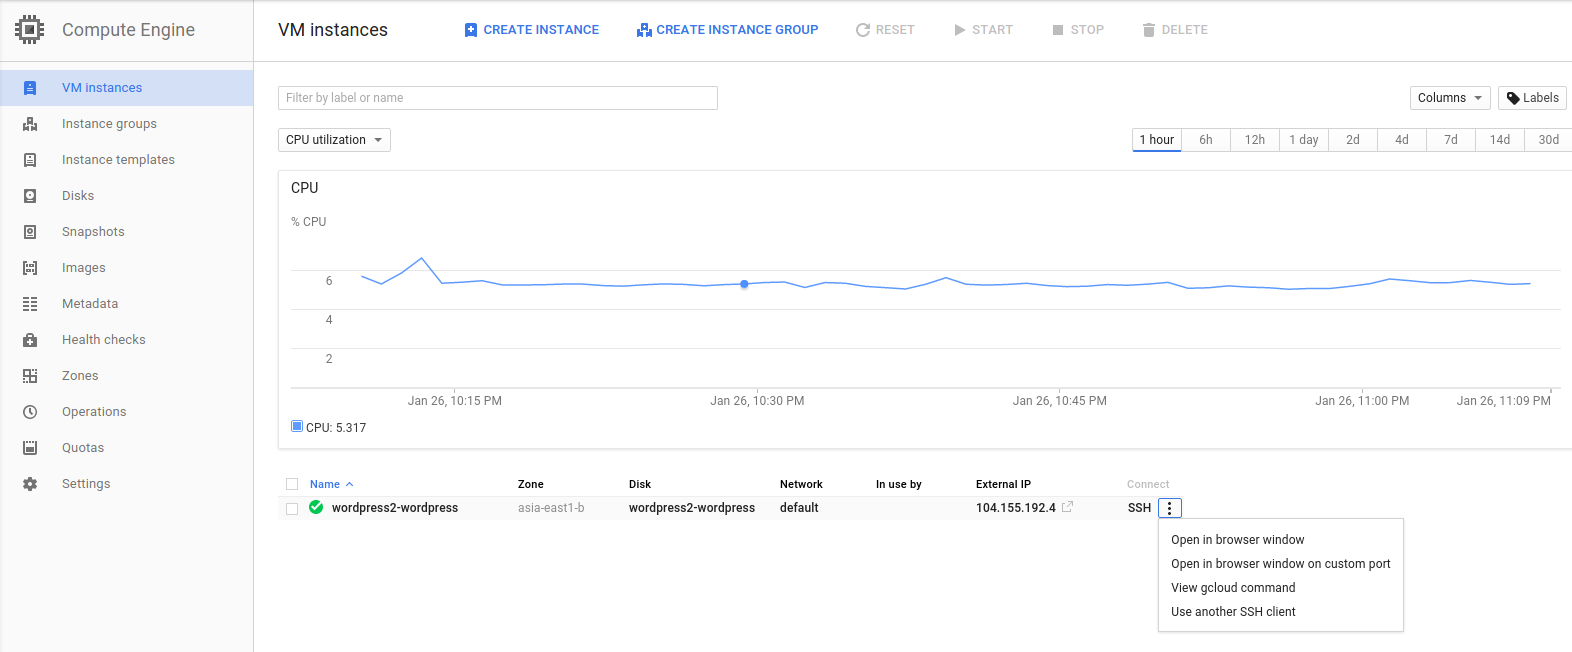
Change to super user
$ sudo suInstall git if absent
$ git --versionIf for above, it says command not found then run the following
$ apt-get install gitClone the letsencrypt github repo
$ git clone https://github.com/letsencrypt/letsencrypt
$ cd letsencrypt
Run the SSL certificate command
$ ./letsencrypt-auto --apache -d balajiextrusions.com -d www.balajiextrusions.comThe above command will guide you through the steps (will ask for email and other details).
If it asks to select the .conf file, select default-ssl.conf
Error in selecting ssl conf file
In my case, after selection it gave error similar to server name not found. I reselected the same default-ssl.conf file couple of times and that error went away.
It expects ServerName to be present in default-ssl.conf. I am not sure whats the purpose of this field. Anyways, I was able to work through the problem without adding ServerName.
Error in installation
After the installation you might see this error
No vhost exists with servername or alias of: maybe.isnot.org. No
vhost was selected. Please specify servernames in the Apache config
Error while running a2dismod socache_shmcb.
ERROR: The following modules depend on socache_shmcb and need to be
disabled first: ssl
Unable to run undo command: a2dismod socache_shmcb
Error while running a2dismod mime.
WARNING: The following essential module will be disabled.
This might result in unexpected behavior and should NOT be done
unless you know exactly what you are doing!
To continue type in the phrase 'Yes, do as I say!' or retry by
passing '-f': Aborting
Unable to run undo command: a2dismod mime
I faced this error too. Don’t worry, lets remedy that using a manual step.
Open default-ssl.conf file
$ sudo nano /etc/apache2/sites-available/default-ssl.conf Add the lines from DocumentRoot until </Directory> at appropriate position
<IfModule mod_ssl.c>
        <VirtualHost _default_:443>
                ServerAdmin webmaster@localhost
                DocumentRoot /var/www/html
                <Directory /var/www/html>
                 AllowOverride All
                 <IfModule mod_rewrite.c>
                   RewriteEngine On
                   RewriteBase /
                   RewriteRule ^index\.php$ - [L]
                   RewriteCond %{REQUEST_FILENAME} !-f
                   RewriteCond %{REQUEST_FILENAME} !-d
                   RewriteRule . /index.php [L]
                 </IfModule>
                </Directory>
Redirect all http links to https
Open default-ssl.conf file
$ sudo nano /etc/apache2/sites-available/default-ssl.confAdd new VirtualHost tag as below, after existing VirtualHost tag and before </IfModule>
            </VirtualHost>
            <VirtualHost *:80>
                ServerName balajiextrusions.com
                Redirect permanent / https://balajiextrusions.com/
            </VirtualHost>
    </IfModule>
Wordpress configuration
Ensure all Wordpress permalinks follow https by changing URL in Wordpress Admin -> Settings -> General

Note: Once URL is updated and apache is restarted, your wordpress admin URL will change from IP based (xxx.xx.xx.xx/wp-admin) to domain based (balajiextrusions.com/wp-admin)
Restart apache
Restart apache service for changes to take effect
$ service apache2 restartCertificate auto-renewal
LetsEncrypt certificate expire every 90 days. So schedule cronjob to auto-renew it say every month.
Open crontab
$ crontab -eAdd this line to the file (update your letsencrypt directory path as applicable)
0 0 1 * * /home/vadgama_deepak/letsencrypt/letsencrypt-auto certonly --webroot -w /var/www/html -d balajiextrusions.com -d www.balajiextrusions.com --renew-by-defaultThis new command is saved to a temp file (it will ask you for location), and then add it to actual cron
Confirm and rejoice
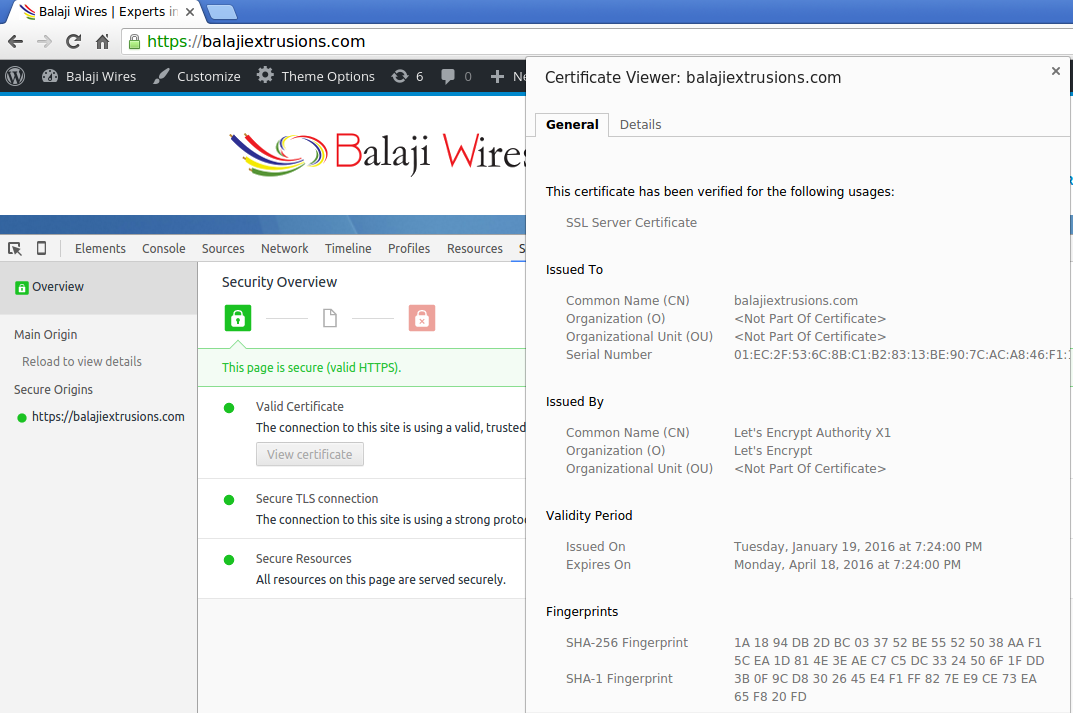
That’s it. You are done. Enjoy free https.
Feel free to comment if you need any help with above steps.
Update (July 2016): The steps listed below still work but are outdated. LetsEncrypt now recommends Certbot which is super easy to install and use. It auto creates the certificates and also deals with renewals.
Tags: google-cloud wordpress https letsencrypt